Pages

Thursday, November 28, 2013

New Baby Quilt

My latest cross stitch project has been a bit of a secret, but now I'm ready to share it.

It was easy-peasy, two colors stitched into a checkerboard pattern with a complimentary backing. It's a nice soft peach with sage green and a slightly deeper green backing.


It's cute, isn't it? It's for sale in my Etsy store. Since today is Thanksgiving in the US, and this weekend is the start of the holiday shopping season, I'm offering a coupon code!  Use the code SHOPSMALL15 to save 15% off anything over $20.00.  This coupon code expires Monday, 12/2, so hurry if you see something you like!


Tuesday, October 8, 2013

Re-Ment Lover

A few years ago I discovered these awesome miniatures from Japan, made by Re-Ment.  Their level of detail and realism is impressive.


I went bonkers and fell head-over-heels in love with these miniatures. I bought most of my sets online.  However, I realized that when we travel, I can pick them up in San Francisco at the Kinokuniya bookstore in Japantown. I'm sure I can find them elsewhere. We have set places we like to go in SF and that place is convenient.


I have a few complete sets and also some individual boxes from other sets.  It's kinda fun and disappointing to get the blind boxes. I almost always get the ugly one. I find it more fun to hunt down the one set I really like online. Sometimes, they cost less online than in the store.

For example, last year I bought one blind box from the set "Grandma's European Dinners" while in SF. I ended up with set #4, the nasty-looking brown fish head stew. I would have jumped for joy over any of the other sets!  To console myself, I bought a secret set with a chocolate bundt cake on E-Bay and the regular bundt cake set.


I have a few other blind boxes. The best one by far was the cupcake set from Heart Shaped Sweets.


I also have Hello Kitty Hannari sweets, crepes, the whole Elegant Sweets set, and one from Teddy Bear's Housekeeping. I have collected a few mismatched things, too, thanks to mystery lots on eBay.


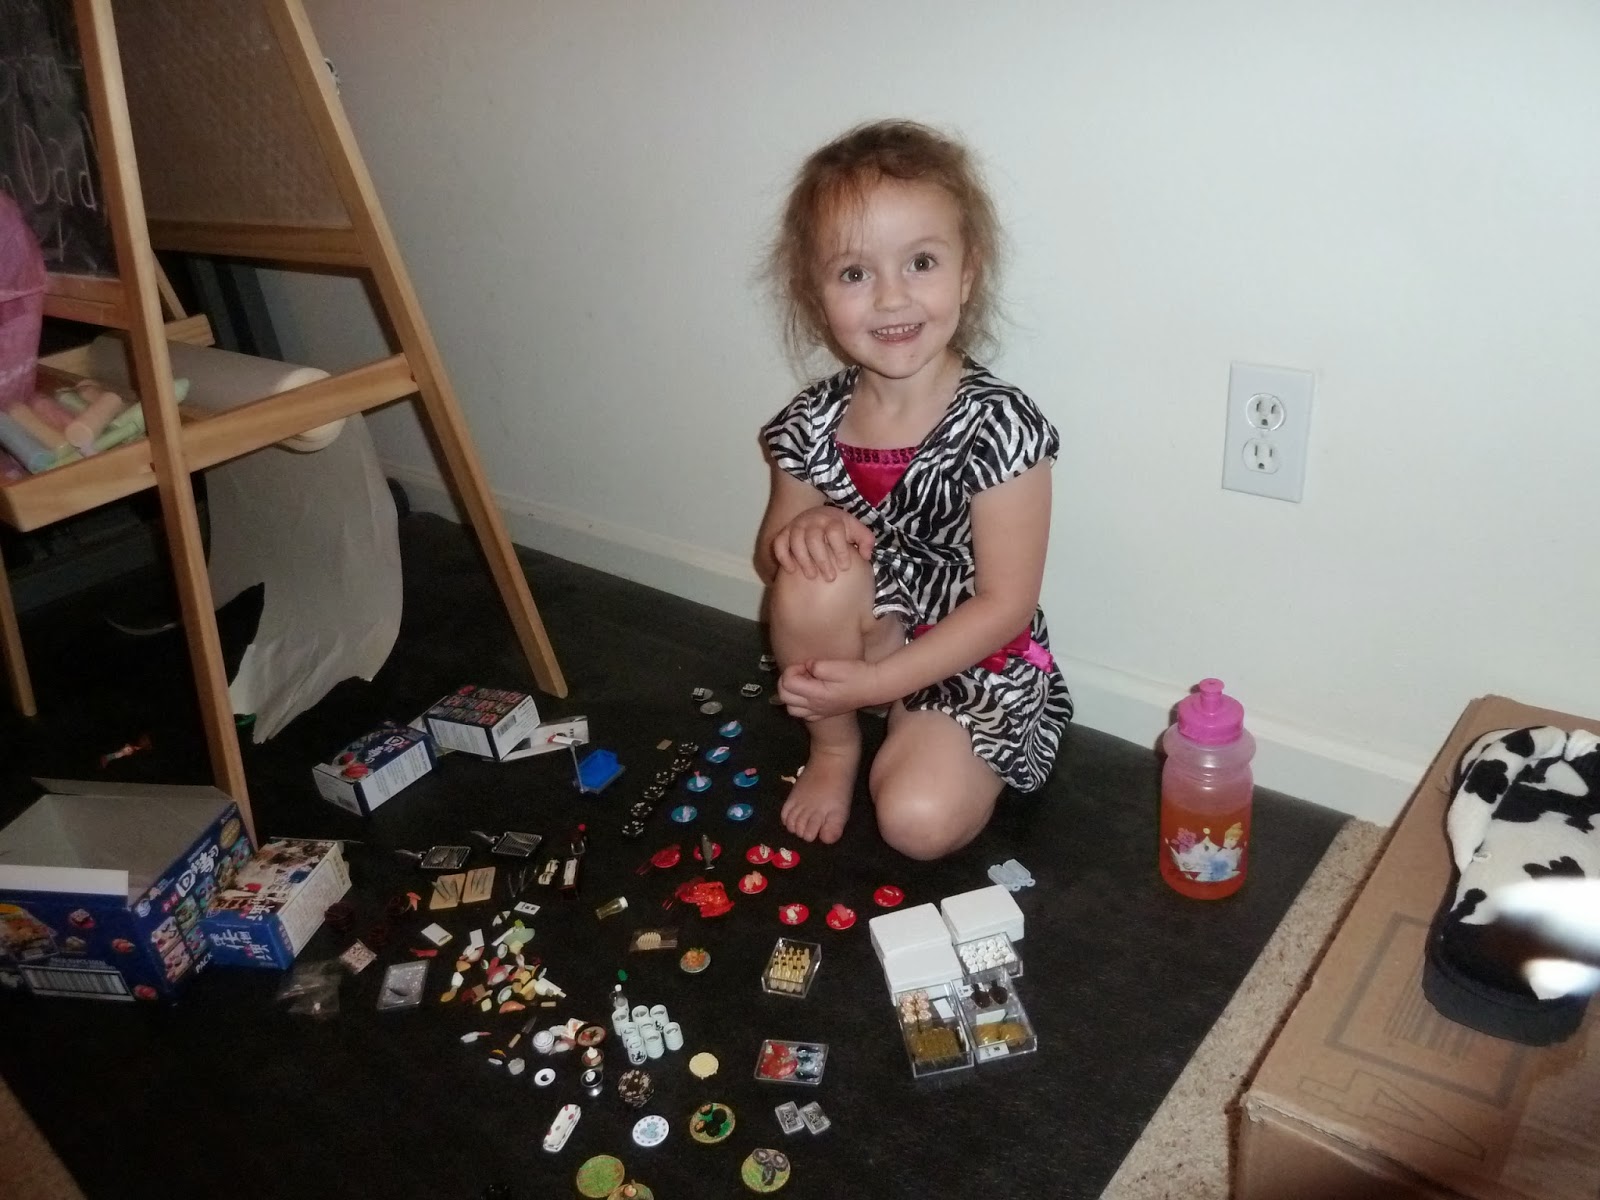
Speaking of eBay, I was very excited to get the complete set of the conveyor belt sushi. I kept in the box hidden in my closet for at least a year. When I was ready to open it, Haley helped me. Then we played sushi for a little while together.


Re-Ment isn't the only one out there making great stuff like this. You can find great stuff by Orcara, Bandai, Mimo, Mega-House, and T is for Candy. This set is one of the Megahouse sets for their bakery sweets set, My Cake Shop.


I bought the Orcara fish market set to go with my idea for the garage-turned fish market and sushi bar. Scale-wise, the fish can fit in just fine. Here I have mixed some different fish sets for fun. The crab in the ice packed cooler and the salmon are Orcara, the other pieces are Re-Ment.


Normally, these miniatures are considered play-scale, which means they fit fashion dolls, like Barbie or Blythe.  These toys roughly work out to be 1:6, or twice as big as my 1:12 stuff. Do you think I'm going to really worry about the scale? Nope!

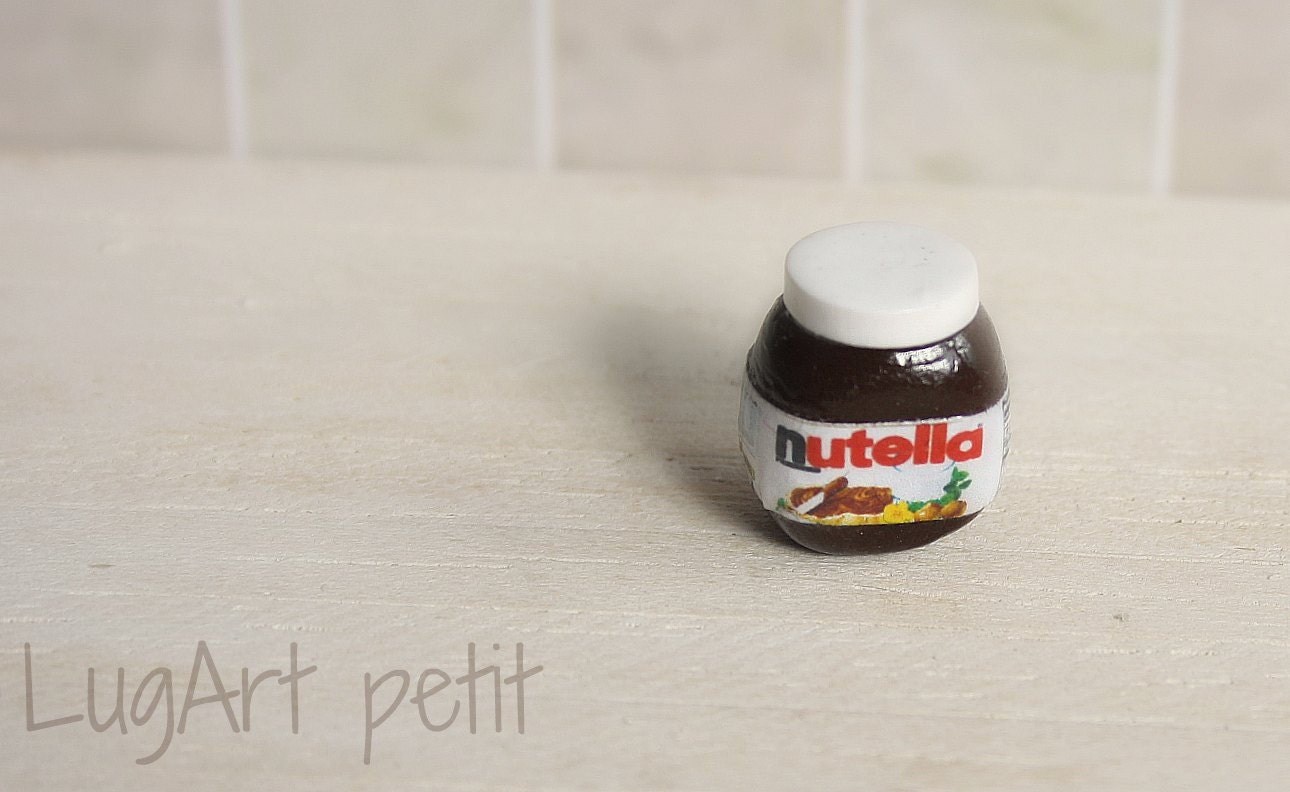
For Christmas last year, my dear hubby Justin completely surprised me with the entire box set of (discontinued) Puchi Petite Mini Sweets! It was the best present I got!


I absolutely recommend these if you are into tiny food. I'm currently eyeballing another Orcara set, this one is a street food collection. I may even need to assemble a room box cafe.

See you again real soon!

Tuesday, October 1, 2013

Elegant Marbleized Dining Table

I have been on a kick lately to refinish or repaint some of my furniture. I had this cute cherry-finished table that just wasn't as amazing as I thought it could be. After sanding and repainting it one solid color, I had the idea.

Marble top. Colored legs. Gold accents. I was very much in the mood for something fancy that would fit in with French Louis XV styling.

The table had the right bones, cabriole legs, some carved detail on the the apron, and the curvature of the top. Voila, a table transformed.


This table is available for sale in my Etsy shop with a few other items, a Hepplewhite banquet table set, an extra cute distressed round dining table, and a vintage 1/144 boot house kit are up.

Thursday, August 29, 2013

Furnishing the Willowcrest

My Willowcrest has been sitting vacant for quite some time. I got the itch to play the other night. I have almost all of my minis boxed up in the spare room, so finding the right furniture can take a little time. Sometimes it wants to be old fashioned, sometimes it wants to be current.

The bathroom was easy.  I have a resin set with flowers that matches the wallpaper so well.  I added a desk that I repainted ages ago and my mom put the Robin Betterley medicine chest on top like a hutch. Why didn't I think of that? It was a cute little change, but now I need a different mirror for the sink!


I filled up the bedroom. I had to put the rose bed in.  I dressed the bed and embroidered the tiny pillow. It was my first attempt at embroidery from about 10 years ago. The furniture is mostly House of Miniatures kits that I assembled and finished in my spare time back in college.


A few things moved around, trying to find the right spot.  These two pieces from Oldham Studios went in the attic for a little while.


I had to play in the kitchen,especially since breakfast was already being served in the dining room!


It was fun to just play in my own dollhouse for a change. I'm getting little bored with Haley's Barbie condo and the limited Barbie-size furnishings and decor!  I like pink, but I can only handle so much of it!

Wednesday, August 28, 2013

Shabby Chic Dining Table

One of my coworkers cleaned out her garage and storage areas.  She gave me two boxes of miniature things. Inside was a real treasure trove! There were books, magazines, some furniture, accessories, DMC floss, needles, fabric, and beads.

There was one particularly cute dining table with broken legs. It was calling to me to remake it. Yes, it needed rehab. It told me that it wanted a new look, it wanted to go shabby.

First, I had to make a new leg. I carved it from a scrap of wood I had from a previous project. I glued all the legs back on.


Second, I found a tube of Nutmeg Brown paint that almost identically matched the base stain and painted the new leg.

Then, I cleaned the rest of the table. It had mini-hold residue and plenty of dust. Next, it got a coating of Wicker White acrylic paint. After it dried, I lightly sanded down the paintbrush marks and lumps.


It was already looking pretty good!

Haley declared that she loved the table and that it should be pink.  After a bit of contemplation, I agreed that distressed pink would be great! I gave it a wash of very pale pink, then sanded it again after it dried.  It needed more distressing and age coloring.

After smudging some watered down blackish-brownish paint into the crevices, it really started to look just right. I sanded down various places for wear and tear. Some very watered down black mixed with brown paint went into the corners.

Then, the table top just wasn't right. I had put this one away for a while and come back to it.  I decided to marbelize it. After a bit of wicker white, off-white, dolphin gray, taupe, and some thinning agent later, I had a pretty decent looking marble job. I used some clear gesso on top of the marble paint, lightly sanded it down to smooth out ridges and lumps, then finished with matte varnish.

Voila! I'm finally happy with this table! I also managed to put some furniture in the Willowcrest and make a nice scene to show it off.

(French toast, napkins, tray, and blueberry pie were by Kim Saulter.  Nutella by LugArt Petit. The jam and other tarts are from sources unknown.)

Monday, August 12, 2013

Redwork Quilt, Part 3

I'm nearly done! I've toted this around with me in my purse, to work, on vacation in Arizona, to karate practice, to football practice, to different places where I'd have a few minutes of idle time.


I think I need to make two big pillows to go with it. Then, I will need to find a new portable project. I'm open to suggestions.

Tuesday, June 4, 2013

Redwork Quilt in Progress Part 2

The rework "quilt" is really looking good. I'm at a point that I have to move the hoop!


I think one more row or dahlias/stars on the left and bottom should get this to the size I want. Then for the lacy border! So exciting!

Tuesday, May 14, 2013

Etsy Goodies - LugArt Petit

Some of you know my birthday was this past weekend. My sweet family got me a new phone and told me to go order some miniatures. So I did!

I have been watching a few artisans on Etsy, Kim Saulter of Kim's Mini Bakery, Cynthia Sperin of Cynthia's Cottage Shop, and Maria Jose and Monica of LugArt Petit. I just love miniature kitchens!

I ordered the cutest set from LugArt Petit and it's on its way to me from Spain. See how cute?


I also picked out a few other things, a candy jar, Nutella, a yogurt pack, and the cutest spilled strawberries.


They also happen to be having a giveaway contest on their Facebook page right now. Check them out!

Saturday, May 11, 2013

The Finished Log Cabin


Wow, it's almost been exactly one year since I started to rehab the Shenandoah cabin kit. It has come a very long ways from broken pieces in a box to this. I got it done just in time for my son's birthday. He was quite happy to call it his and put his new Lego Hero Factory characters inside it.


 Let's catch up on the finishing touches.

I sealed up the stained wood with some oil-based satin finish polyurethane. One coat was not enough, so I lightly sanded and applied a second thin coat.

I managed to get the door installed with some help from my Dremel and a nice little drill bit. The kiddo requested a shiny gold door knob. I made the set from two round glass beads, smooth sequins, and jewelery pins glued together with CA glue, then painted with gold nail polish. Maybelline Bold Gold #70 was perfect, not too brassy, and little aged looking.


The fireplace shell was the stock plywood. It had broken at some point and even after trying to glue it along the break, it was just bad, warped, splintery, plain.  After some careful gluing and clamping to fix the shape, it ended up being a decent base. I'm testing the fit here. It's good!


The inside of the fireplace was made from brick-sized pieces I cut from rough Chinet paper plates. I painted it blotchy gray and tan. Next, I smeared hole filling compound stained tan (with craft paint) into the crevices like grout. Once dry, the fireplace shell was glued into place.


I rolled out paperclay, applied tacky glue to the wood, and laid the clay on top. While wet, I used a toothpick and credit card to carve "stones" into the clay. I had to work in segments and mind the seams.


After it dried, it looked really great. A little X-acto knife trimming here and there tidied up the edges and some of the lumps. I painted it dove gray and smeared tan tinted hole compound into the grooves for grout.


The mantle was assembled from the log pieces according to the manual. It was stained a dark oak finished with semigloss polyurethane. Then, I glued the mantle in place.


The cabin looks so good, like a million bucks! Now we need to scare up a table so the cabin can live in my son's room. For the moment, it's in the dining room but I hope I can get it moved soon.