Some of you know my birthday was this past weekend. My sweet family got me a new phone and told me to go order some miniatures. So I did!
I have been watching a few artisans on Etsy, Kim Saulter of Kim's Mini Bakery, Cynthia Sperin of Cynthia's Cottage Shop, and Maria Jose and Monica of LugArt Petit. I just love miniature kitchens!
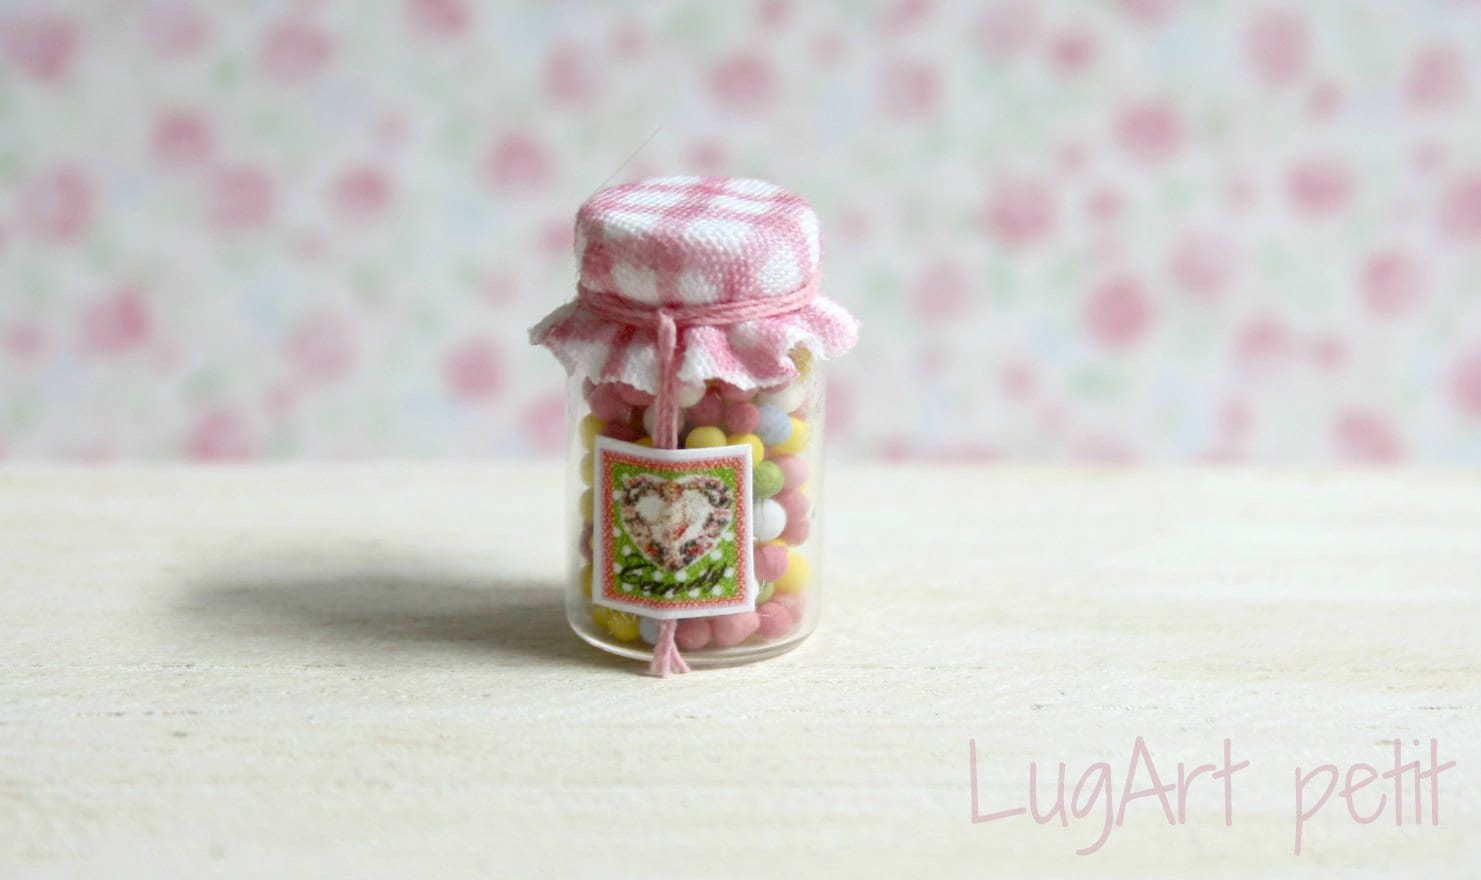
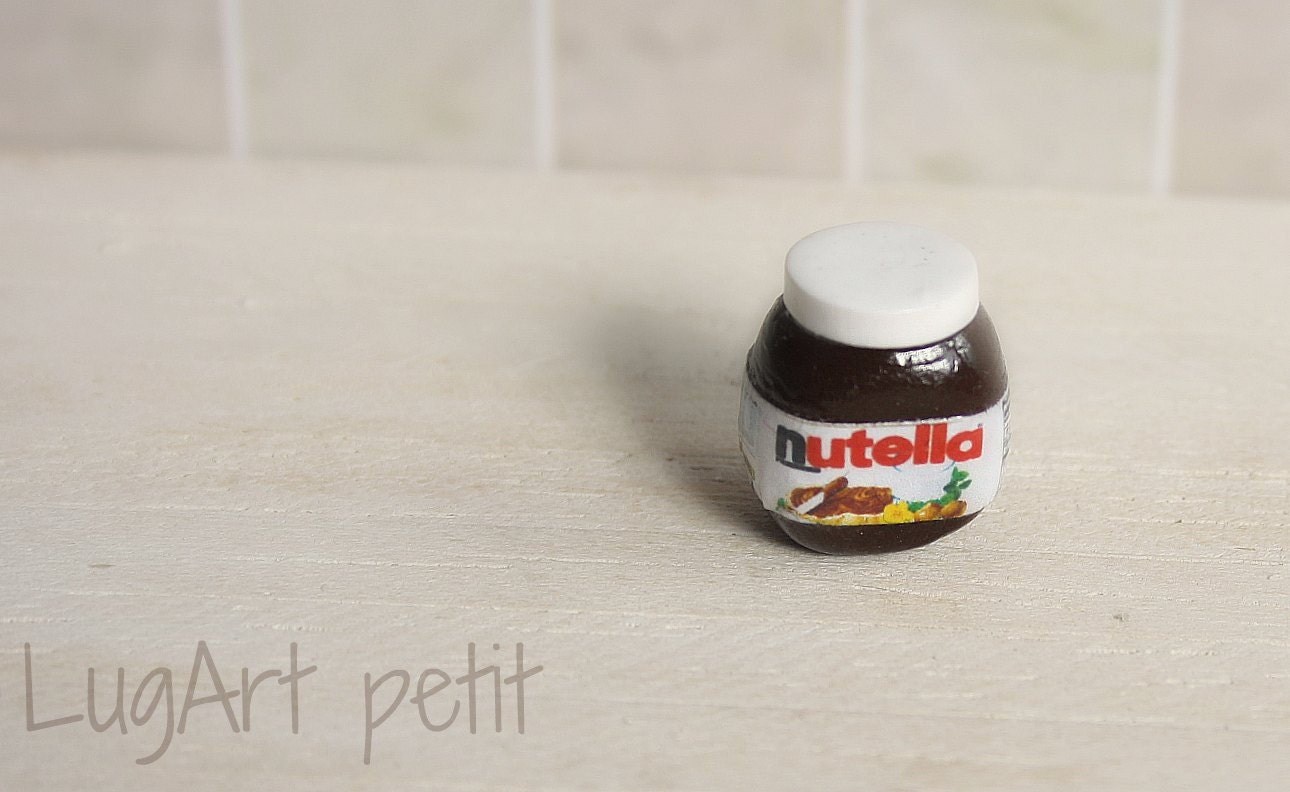
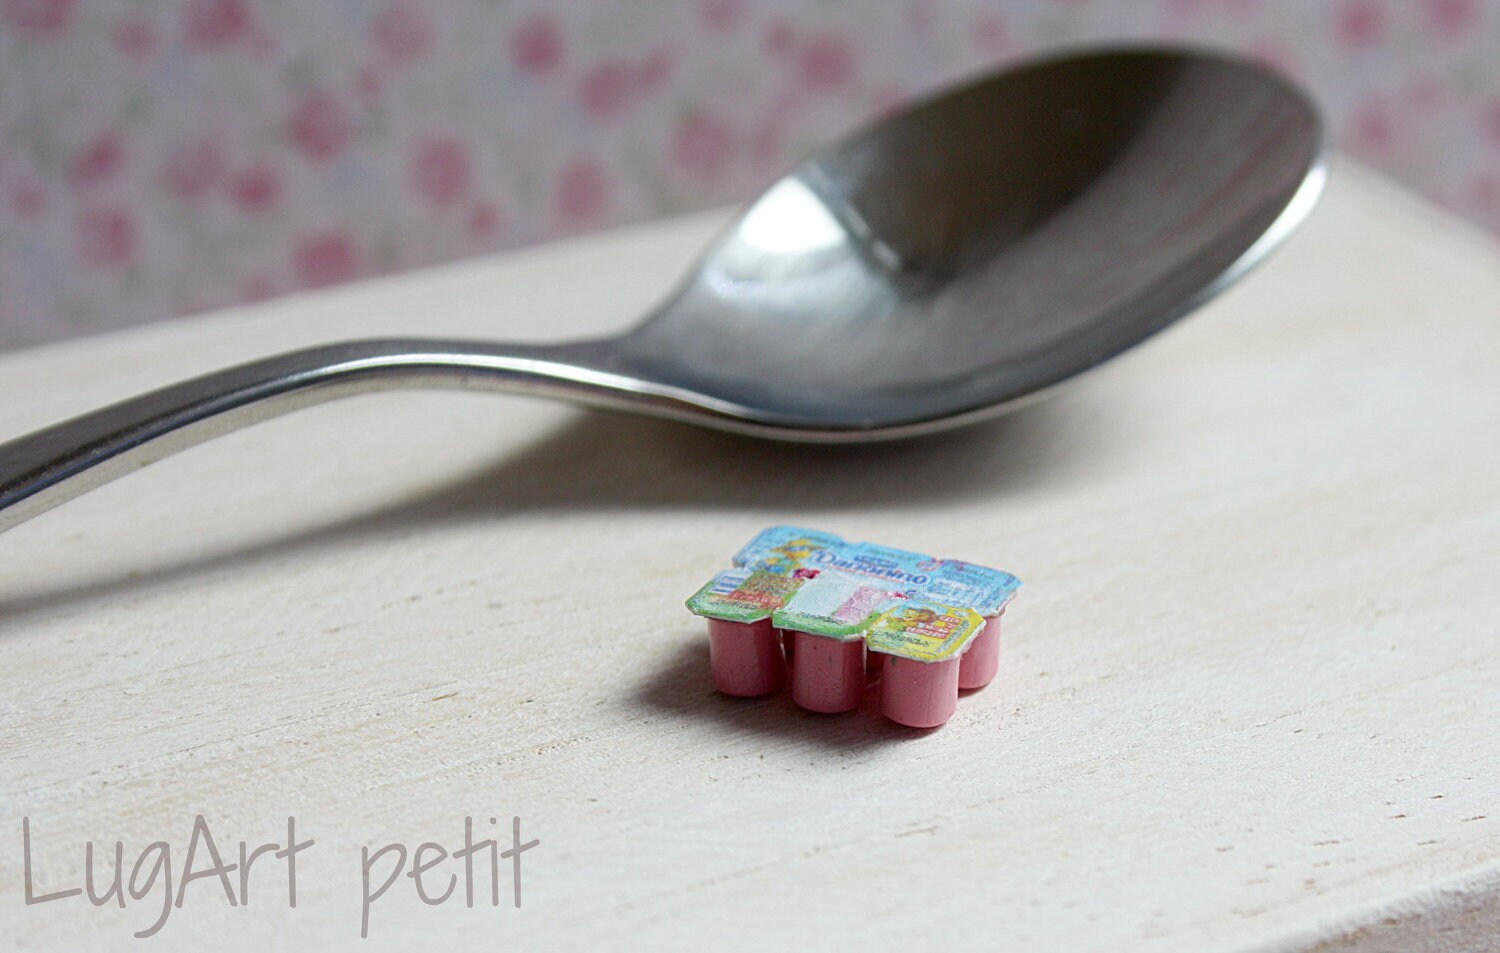
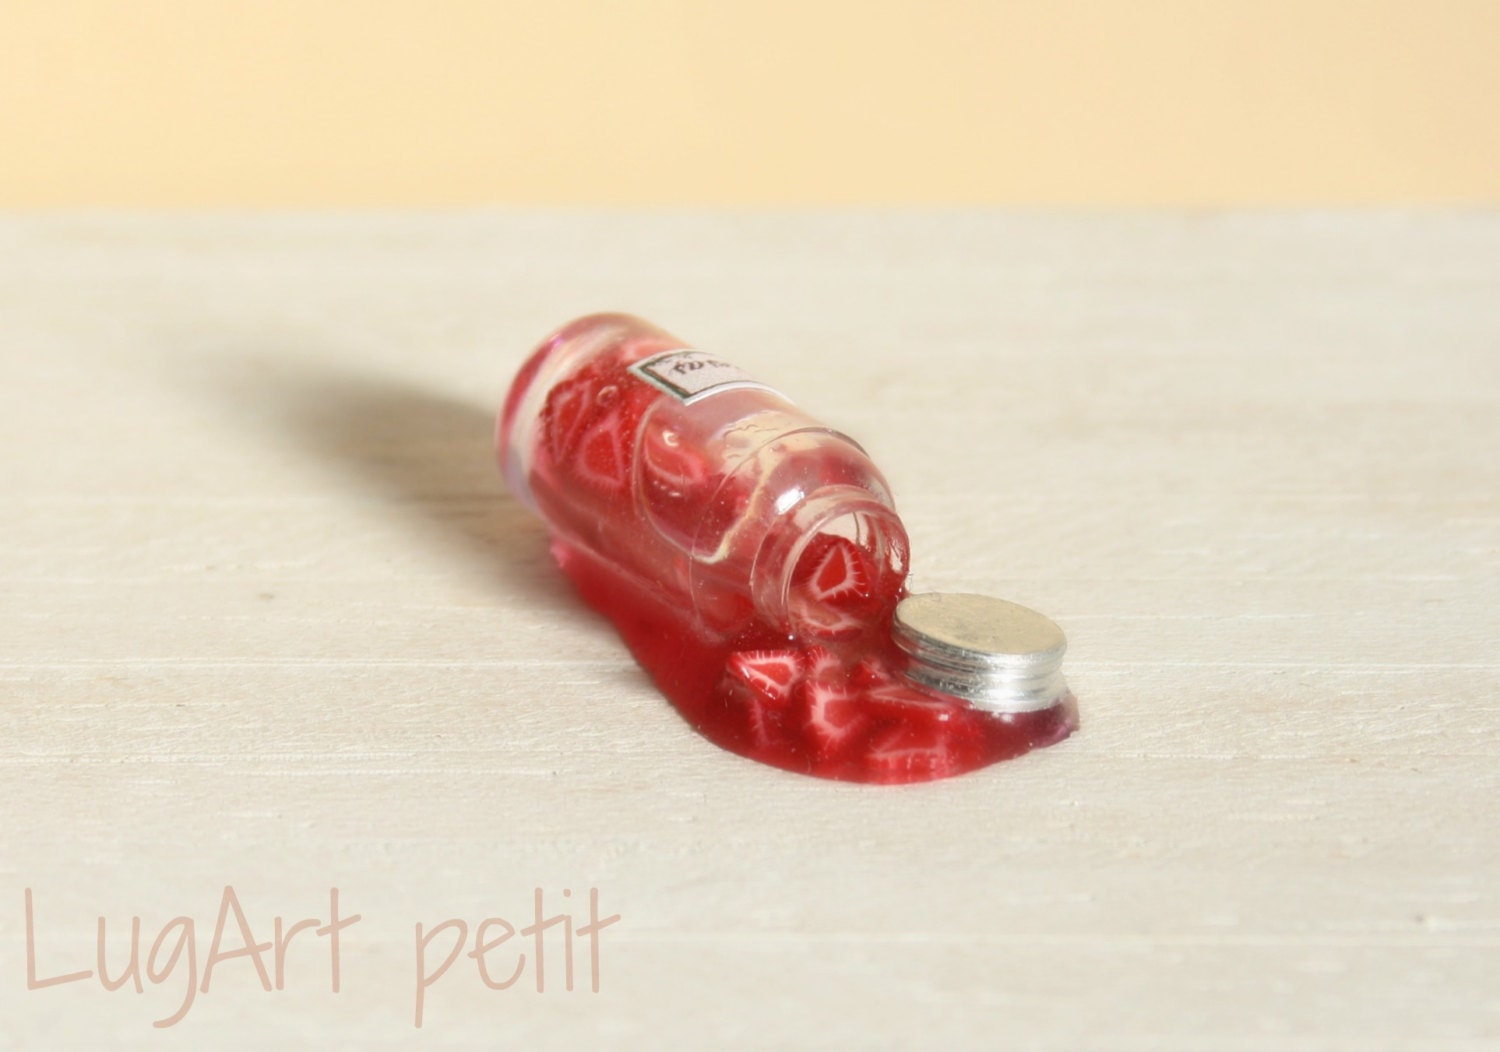
I ordered the cutest set from LugArt Petit and it's on its way to me from Spain. See how cute?
I also picked out a few other things, a candy jar, Nutella, a yogurt pack, and the cutest spilled strawberries.
They also happen to be having a giveaway contest on their Facebook page right now. Check them out!
Mainly dollhouses and miniatures in 1:12 scale, cross-stitching, my favorite dolls and toys, as well as other crafty projects.
Tuesday, May 14, 2013
Saturday, May 11, 2013
The Finished Log Cabin
Wow, it's almost been exactly one year since I started to rehab the Shenandoah cabin kit. It has come a very long ways from broken pieces in a box to this. I got it done just in time for my son's birthday. He was quite happy to call it his and put his new Lego Hero Factory characters inside it.
Let's catch up on the finishing touches.
I sealed up the stained wood with some oil-based satin finish polyurethane. One coat was not enough, so I lightly sanded and applied a second thin coat.
I managed to get the door installed with some help from my Dremel and a nice little drill bit. The kiddo requested a shiny gold door knob. I made the set from two round glass beads, smooth sequins, and jewelery pins glued together with CA glue, then painted with gold nail polish. Maybelline Bold Gold #70 was perfect, not too brassy, and little aged looking.
The fireplace shell was the stock plywood. It had broken at some point and even after trying to glue it along the break, it was just bad, warped, splintery, plain. After some careful gluing and clamping to fix the shape, it ended up being a decent base. I'm testing the fit here. It's good!
The inside of the fireplace was made from brick-sized pieces I cut from rough Chinet paper plates. I painted it blotchy gray and tan. Next, I smeared hole filling compound stained tan (with craft paint) into the crevices like grout. Once dry, the fireplace shell was glued into place.
I rolled out paperclay, applied tacky glue to the wood, and laid the clay on top. While wet, I used a toothpick and credit card to carve "stones" into the clay. I had to work in segments and mind the seams.
After it dried, it looked really great. A little X-acto knife trimming here and there tidied up the edges and some of the lumps. I painted it dove gray and smeared tan tinted hole compound into the grooves for grout.
The mantle was assembled from the log pieces according to the manual. It was stained a dark oak finished with semigloss polyurethane. Then, I glued the mantle in place.
The cabin looks so good, like a million bucks! Now we need to scare up a table so the cabin can live in my son's room. For the moment, it's in the dining room but I hope I can get it moved soon.
Tuesday, May 7, 2013
Redwork Quilt in Progress
I have been slowly making progress on the red star quilt. I've also seen this type of pattern called a dahlia quilt.
This is from scratch. I'm not following a particular pattern so it's a bit slow in the beginning as I decide what to do. I'm using ivory 18-ct Aida cloth stitched with DMC floss burgundy 221.
I'm only working on it during break time at work, so 15 minute increments don't let you get too far. This is roughly 2.5 hours-worth of stitching. Of course, I'm also chatting with my coworkers as I stitch, so I'm not going all that fast anyway. It's almost exactly 5 inches long. I'm planning on this fitting a 1:12 scale double bed.
How do you like it?
Subscribe to:
Posts (Atom)


