Pages

Showing posts with label DIY. Show all posts

Friday, April 15, 2016

Cabinet upgrade

Hello, dear readers!

How are all of you? I have not posted here in months, but I'm enjoying popping to other's blogs or seeing what turns up on Pinterest.  Not too long ago, someone in a forum mentioned that Michael's stores had a few miniature items, if you were lucky enough to find them.

I booked it to the closest Michael's a found this simple, naked cabinet. Hooray!


I sanded it a bit to smooth it. I slopped some ivory paint on it to see how it would look.  Not bad, but it was only the base coat. More ivory paint made the inside look clean. 


After that was really good and dry, I combined 3 shades of bright sky blue, robin's egg blue, turquoise, plus more ivory and painted it on muddled and streaky. A few spots got distressed with sandpaper and an Xacto knife. Finally, I took some tulle fabric, spray painted it bronze, then added it to the doors to look like wire mesh. I really love how it turned out.


Now, for some tiny things to go inside, I'm not sure if this will be a kitchen cupboard with vintage foods or a sewing supply cabinet.  Of course, I went back to Michael's hoping to find another one that I could do in pink, but they were all gone. Maybe I'll get lucky next time.

Thanks for stopping by!

Wednesday, January 28, 2015

Dolls are coming

Hi again my Friends!

I'm excited about something new. I have never really gotten into dolls for the dollhouses before. Ages ago, around 1997, I ordered a kit doll from Dana Burton of MiniatureArt. I was able to request the doll pre-painted and wigged, so that was great. Then never finished it. I sort of got hung up on what I wanted her to wear, so she's been incomplete and naked since.

BUT, I'm ready to give dolls a try. No kidding!

I got the naked doll out and I'm getting some really good ideas for her. I bought some tan yarn to do her body wrap over the wire armature. Then when I get some time in the coming week, I'm going to sit down and work on her. We'll have to wait and see what suits her style.


Just two days ago, I ordered a wonderful new kit, for a steampunk/Edwardian lady, also from Dana Burton of MiniatureArt. She's called Phaelon and you have to see her. Click this link to look.

I'll definitely share some more pictures when she comes in and I work on her.

See you again very soon :)


Wednesday, September 17, 2014

Sunny Miniature Quilt

Hello friends! I have been very quiet lately, lots going on. The kids are back in school which means homework, field trips, and football practice. I started,  and have already finished, a new cross stitch project. You know I have been on a quilt kick.

I was inspired by sunflowers. We grew some in the garden this year, so they were just outside the back door whenever we looked out. I charted some simple little blocks and tweaked the colors to be sunny. Then, on August first, the first night of football practice, I started my stitching.

After two weeks, I had this much done.


Ten days later, I was up to here. This was a slow stretch, but no giving up. I finished all the yellow, then went back and added the brown. Much more efficient that way.


Then I had all the little fussy little leaves to add. And I lost my favorite needle. I had to buy new needles, two different packs to test them out. All of them pale in comparison to my old needle. Some were too fat, some too short, but all were stamped weird so they were hard to thread. Bummer.

So here is the top. I still need to get some backing fabric and finish it.  It's small, not bed size. It's more like a wall-hanging art quilt. It's just a tad too big to be a half-scale quilt. The stitched area is about 3.5" square.


Now, I need to wash it, iron it, cut it out, find some backing fabric, sew it all together, and then it can be done.  In the meantime, I'm ready to start another quilt project. It's nice to have a portable project that goes to practice!

Thanks for stopping by, my friends!

Wednesday, July 16, 2014

New Cross Stitch Patterns

Hello friends.  I decided to branch out and try something new.  Since I'm a little bit good at cross-stitching (being modest here) I thought I'd try out making some patterns of my own.

I bought some software and I've been absolutely bonkers making up patterns. At this point I've made so many patterns, I will never ever have enough time to make them all. Ah, to dream happy little project dreams.

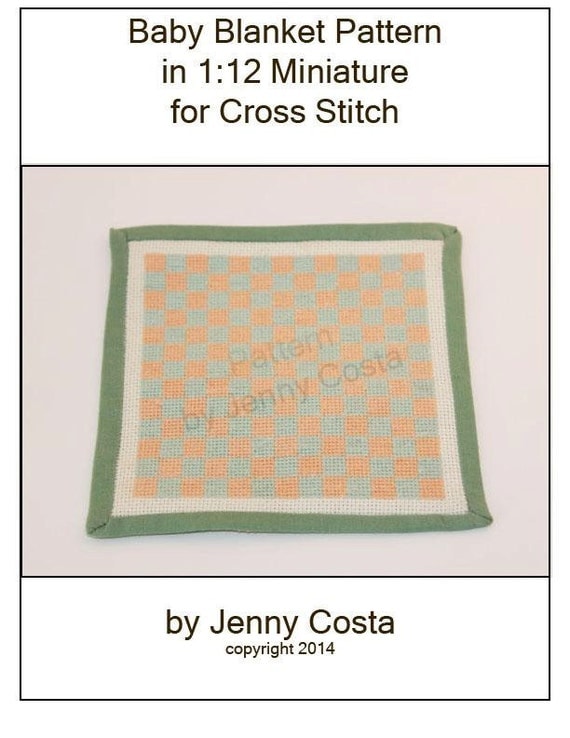
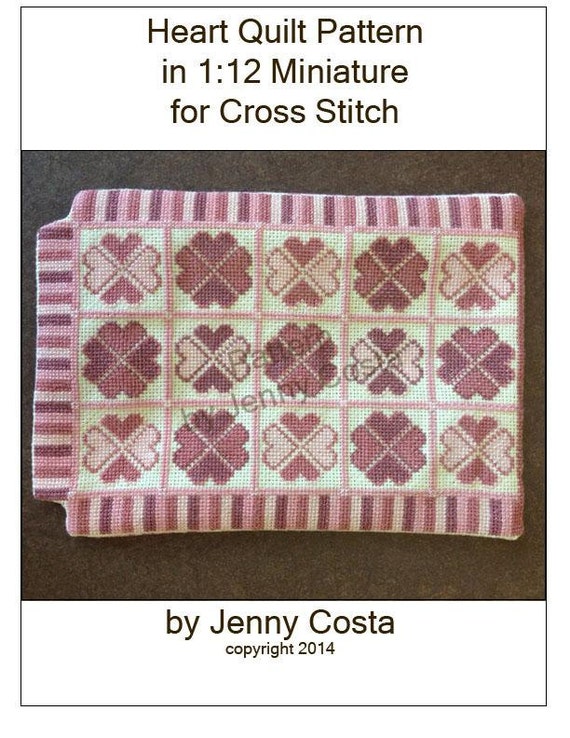
At the moment, I have two patterns for sale in my Etsy store. These patterns are meant to be "quilts" where you stitch the top and then sew a backing on.

First, is the simple blocked baby blanket. (If you'd like to buy the finished blanket it's also available here.)

https://www.etsy.com/listing/191471742/baby-blanket-in-112-miniature-cross?ref=shop_home_active_2

Second, is Haley's Heart quilt.

https://www.etsy.com/listing/190156108/heart-quilt-112-dollhouse-miniature?ref=shop_home_active_1
I have a bunch more patterns in the works. If you have any suggestions, I'm open to them. Thanks for stopping by!

Thursday, December 20, 2012

Flame Painted All-Stars

Today, I'm going off the path of minis, but this is still a DIY crafty topic.


Here's a little horn-toot for myself. My son wanted fire shoes. We went shopping but could not find any shoes that already came with flames on them. The next best thing was to buy some plain shoes and have someone paint flames on them. And you know who that someone was. It was me, of course!

My son chose some chambray blue Converse All-Stars. After mulling over the flame design a bit, I got to work. I free-handed it with stiff paintbrush. I started with yellow fabric paint to do the flame centers, then a layer of orange, and finally the red. I only painted the sides facing out. There were ventilation grommets in the instep that interfered with painting there.


The big kid is completely in love with how his shoes turned out. He's been so cute telling everyone that his mom made his cool shoes. Thanks sweetie!